When selling a home, captivating photos can make all the difference. A great listing starts with understanding how to prepare your property for a photo shoot. In this blog post, we will provide a comprehensive real estate photography checklist, tips on how to get your house ready for listing photos, and everything a photographer should know before arriving.
Quick Poll: What’s Your Biggest Concern About Real Estate Photography?
1. The Importance of Real Estate Photography
Real estate photography is crucial in today’s competitive market. High-quality images can attract potential buyers and can even lead to higher offers. But how do you achieve that? Follow our detailed checklist to ensure your home shines.
2. Real Estate Photography Checklist
2.1 Preparing the Interior
:max_bytes(150000):strip_icc():format(webp)/how-to-stage-your-house-like-a-real-estate-agent-1-0223-2000-63fdee46c869468282851d426f3633aa.jpg)
Before the photographer arrives, ensure the interior is ready. Here’s a checklist for you:
- Declutter rooms and spaces.
- Remove personal items and family photos.
- Ensure all lights are functioning and replace any burnt-out bulbs.
- Clean windows to maximize natural light.
- Consider staging rooms to make them look inviting.
2.2 Preparing the Exterior

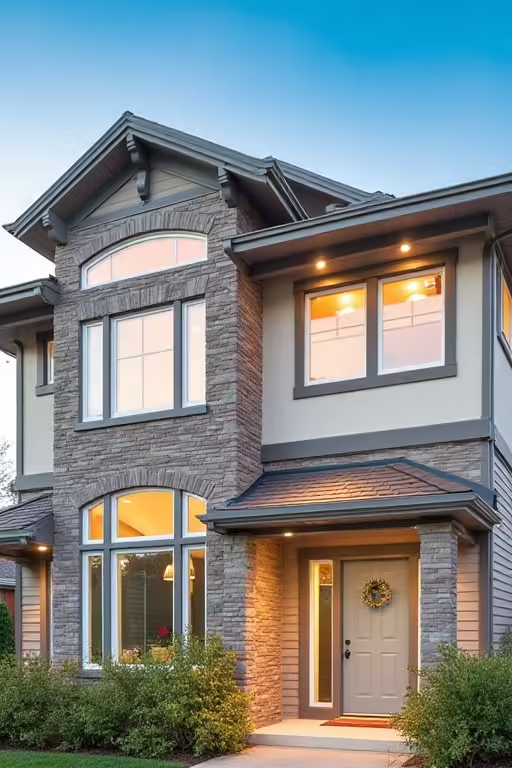
First impressions count! Make sure the outside of your home looks its best:
- Mow the lawn and trim hedges.
- Clear walkways and driveways.
- Remove any vehicles from the driveway.
- Check that the front door is clean and painted if necessary.
- Add seasonal flowers or plants for a pop of color.
2.3 Final Touches
Before your photographer arrives, do a final walkthrough:
- Ensure all surfaces are clean and dust-free.
- Open curtains to let in natural light.
- Adjust furniture for better angles.
- Consider using air fresheners for a pleasant scent.
- Make sure pets are secured and out of sight.
3. Checklist for Real Estate Photographer Before Arriving
To ensure your photographer captures the best shots, consider this checklist:
- Confirm the time of the shoot and duration.
- Discuss specific areas to focus on, such as new renovations.
- Ask about any preferred angles or techniques the photographer uses.
- Check if they will bring additional lighting equipment.
- Discuss the editing process and turnaround time for images.
4. Additional Tips for Success
4.1 Lighting Is Key
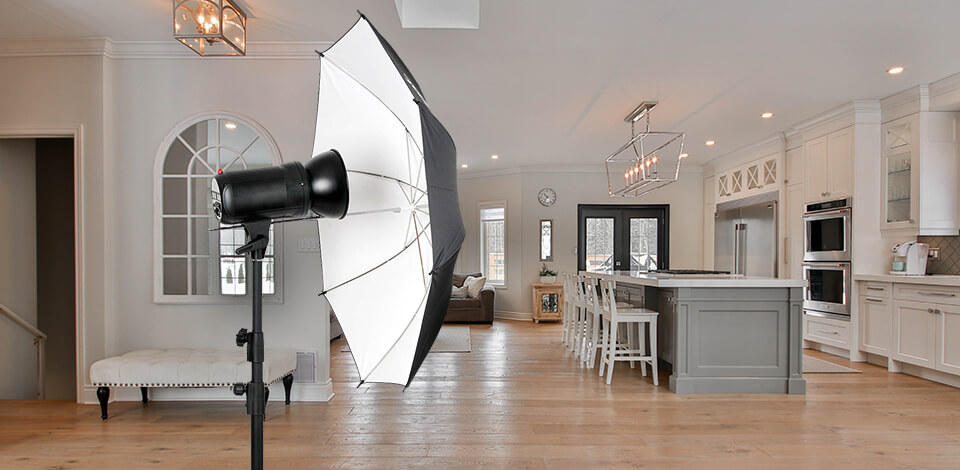
Natural light can be your best friend. Schedule shoots during the day when sunlight is abundant, and avoid harsh overhead lights. Open curtains and blinds to let in as much light as possible.
4.2 Know Your Photographer
Every photographer has their style. Before the shoot, understand what your photographer prefers and their previous work. This will help you align your expectations and ensure satisfaction.
4.3 Use a Professional
While it may be tempting to use a smartphone for listing photos, hiring a professional can drastically improve your chances of making a great first impression. They bring equipment and expertise that will showcase your property in the best light.
4.4 Timing is Everything
Timing your shoot correctly can significantly impact the quality of your photos. Aim for the “golden hour”—the hour after sunrise and the hour before sunset—when the light is soft and warm. This can add a magical quality to your images.
4.5 Don’t Forget the Details
Small details matter. Consider adding decorative elements like fresh towels in the bathroom or a bowl of fruit on the kitchen counter. These details can make the space feel more inviting and homey.
4.6 Virtual Staging
If your home is empty or poorly furnished, consider virtual staging. This involves digitally placing furniture and decor into photos, making the space more appealing without the need for physical staging.
4.7 Emphasize Outdoor Spaces
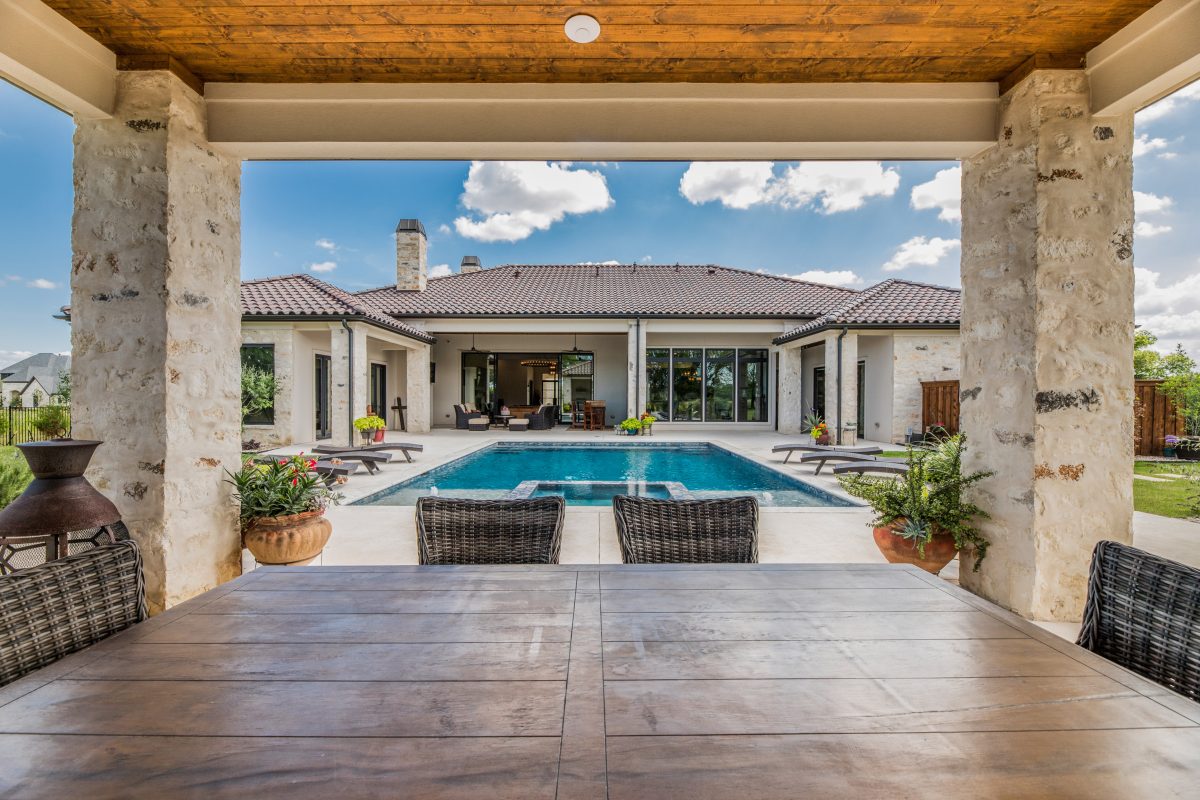
If your property has a yard, patio, or balcony, ensure these areas are clean and ready for photos. Outdoor living spaces are highly appealing to buyers, especially in warmer months.
4.8 Consider Professional Editing
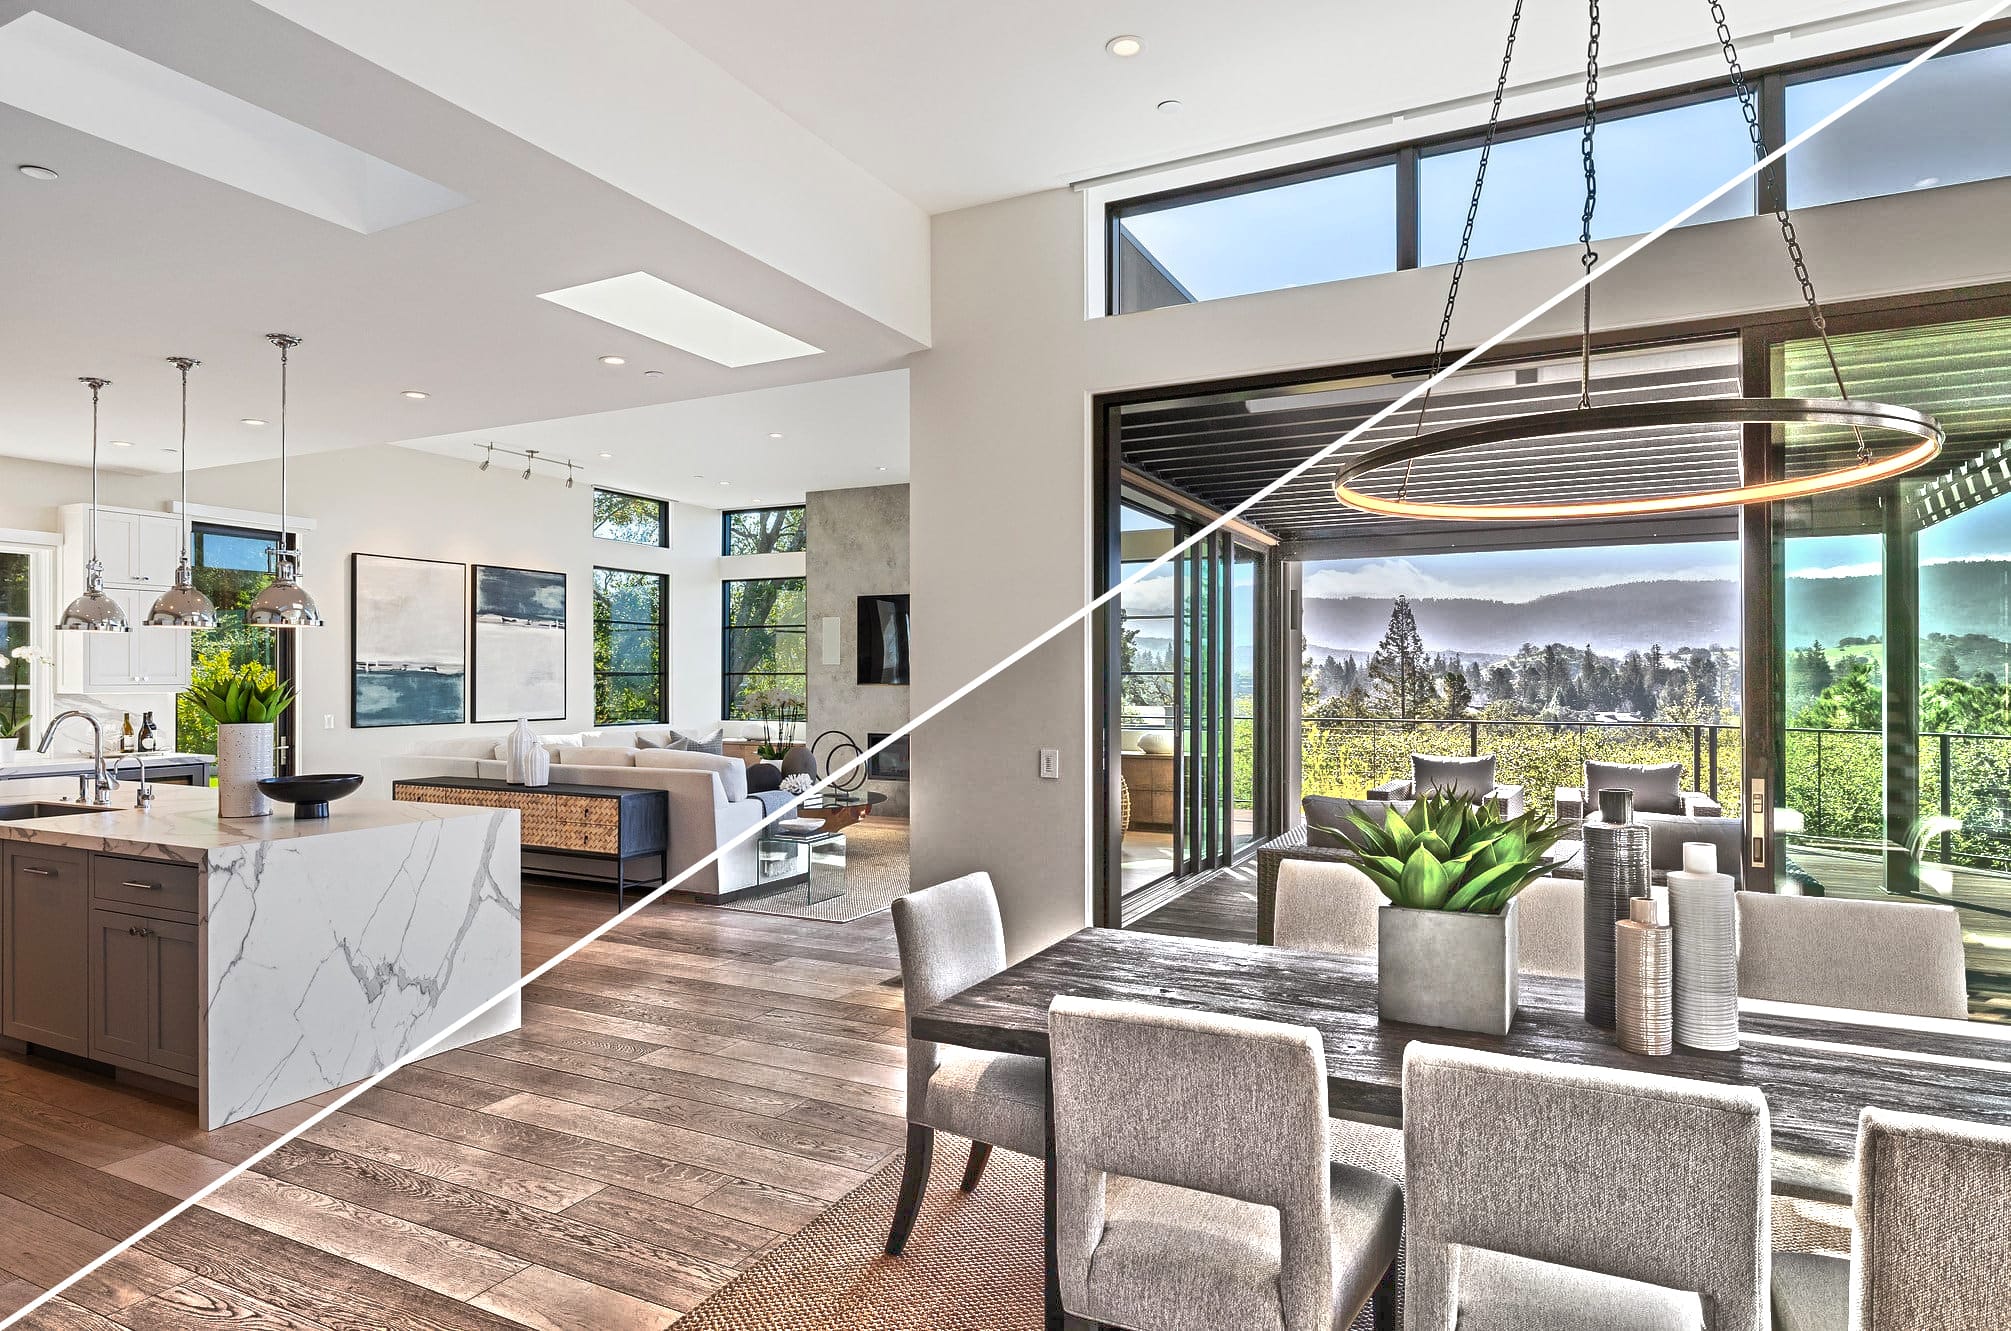
Post-processing can enhance photos significantly. Discuss with your photographer about retouching, color correction, and other edits to make your images pop.
5. Case Studies: Successful Real Estate Photography
5.1 Case Study: A Modern Urban Loft
A local real estate agent worked with a professional photographer for a modern loft listing. By following the checklist, the agent decluttered the space and used professional staging. The result? The property sold for 15% above the asking price within a week of listing!
5.2 Case Study: A Cozy Family Home
In another instance, a family home was initially listed with poor-quality photos taken with a smartphone. After several weeks with no offers, the agent decided to invest in a professional photographer. The new photos highlighted the warm, inviting nature of the home, leading to multiple offers within days.
6. Fun Fact About Real Estate Photography
Did you know that listings with professional photos receive 61% more views than those without? Investing in quality photography is one of the best ways to enhance your property’s visibility!
7. Additional Resources
For More Information
8. Conclusion
Preparing your home for real estate photography is an essential step in attracting potential buyers. By following our comprehensive checklist and utilizing professional photography, you can showcase your property in its best light. Remember, first impressions matter, and stunning photos can make all the difference in your selling journey.


