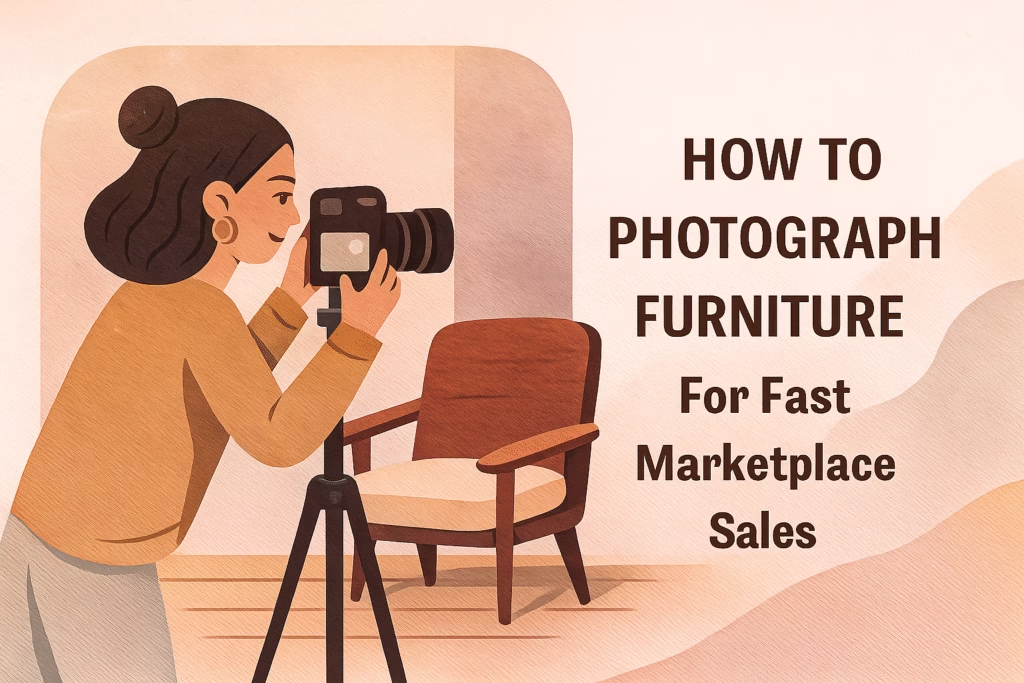
How to Photograph Furniture for Fast Marketplace Sales
Make buyers stop scrolling: simple lighting, honest angles, and clean edits that sell the piece—not a filter.
Introduction
How to Photograph Furniture for Fast Marketplace Sales is your step‑by‑step system for producing clear, trustworthy images that increase views, saves, and messages—using the phone you already have. Follow the repeatable setup below and ship listings that move inventory without discounts.
Honesty first: Photograph reality—true color, edges, and wear. Misrepresentation kills trust and wastes time.
Expanded Table of Contents
- 1) Why “How to Photograph Furniture for Fast Marketplace Sales” Works
- 2) Gear & Phone Settings That Matter
- 3) Lighting: Window, Shade, and Simple Reflectors
- 4) Staging & Background: Clean, Neutral, Scaled
- 5) The 12 Essential Angles (with Shot List)
- 6) Color Accuracy & White Balance
- 7) Details, Texture, and Honest Wear
- 8) Short Videos That Build Confidence
- 9) Editing Workflow: Straighten, Balance, Correct
- 10) Photo Order, Captions & Posting Checklist
- 11) Marketplace‑Friendly Tips (Aspect, Crops, Watermarks)
- 12) Safety, Privacy & Meet‑up Tips
- 13) KPIs, UTMs & A/B Testing Ideas
- 14) 30–60–90 Day Rollout Plan
- 15) Troubleshooting & Optimization
- 16) 25 Frequently Asked Questions
- 17) 25 Extra Keywords
1) Why “How to Photograph Furniture for Fast Marketplace Sales” Works
- Clarity beats filters: Buyers want shape, size, and finish—fast.
- Consistency scales: A shot list means every listing looks pro, even on busy days.
- Trust reduces haggling: Honest wear photos and exact dimensions cut back‑and‑forth.
2) Gear & Phone Settings That Matter
| Item | Why It Helps | Tip |
|---|---|---|
| Phone (1× lens) | Natural perspective | Avoid ultra‑wide distortion |
| Tripod or stack of books | Level, repeatable angles | Camera at seat/top height |
| White foam board | Simple reflector | Bounce light from window side |
| Microfiber cloth | No smudges/glare | Wipe glass, metal, lacquer |
| Painter’s tape + tape measure | Scale proof | One “dimensions” photo per listing |
- Turn on gridlines, lock focus/exposure, and avoid digital zoom.
- Disable aggressive beauty/scene filters that change color.
3) Lighting: Window, Shade, and Simple Reflectors
- Place the piece near a large window with soft daylight; shoot with the window to one side.
- Use a white foam board opposite the window to fill shadows.
- Avoid mixed color temps—turn off orange overheads if daylight is your key light.
- Outdoors? Choose open shade or overcast; avoid direct noon sun and patchy shadows.
4) Staging & Background: Clean, Neutral, Scaled
- Clear clutter. A plain wall or seamless paper keeps attention on the piece.
- Leave 1–2 ft between the furniture and wall to soften shadows.
- Add one small prop for scale (lamp/plant), never covering edges or legs.
- Hide cables, boxes, personal items, and reflective distractions.
5) The 12 Essential Angles (with Shot List)
| # | Angle | Why It Sells |
|---|---|---|
| 1 | Hero 45° (slight portrait) | Stops scroll; shows depth |
| 2 | Straight‑on front | Proportions & symmetry |
| 3 | Side profile | Thickness, arms, edge profile |
| 4 | Back | Cables/finish truth |
| 5 | Top‑down | Surface condition & grain |
| 6 | Detail macro | Texture, stitching, joinery |
| 7 | Hardware close‑up | Material quality signal |
| 8 | Legs/underside | Stability & authenticity |
| 9 | Function (drawer/hinge open) | Shows smooth operation |
| 10 | Scale with tape measure | Reduces “too big/small” returns |
| 11 | Seating height eye‑level | Comfort perception |
| 12 | Wear/defect honesty shot | Builds trust |
6) Color Accuracy & White Balance
- Photograph in one lighting session for consistency.
- Lock white balance; include a neutral object in one frame to reference during editing.
- Avoid filters; gentle, realistic edits convert better than stylized looks.
7) Details, Texture, and Honest Wear
- Use raking light (light skimming across the surface) to reveal texture and grain.
- Photograph wear spots clearly and add a matching caption (“small scuff on back left leg”).
- Include brand marks/labels when available.
8) Short Videos That Build Confidence
- 10–20 second walk‑around; start on the hero angle, glide around slowly.
- Show moving parts (drawers/hinges) operating smoothly.
- Keep the clip steady; avoid loud background noises.
9) Editing Workflow: Straighten, Balance, Correct
- Straighten horizons; align verticals (perspective correction).
- Crop to fit the entire piece with a small margin.
- Adjust exposure and white balance to match reality.
- Spot‑clean dust and floor scuffs—never remove real wear.
- Export at platform‑friendly sizes; keep files quick to load.
10) Photo Order, Captions & Posting Checklist
- Order: Hero → 45° → Straight‑on → Details → Function → Scale → Wear.
- Caption template: {Title} • {L×W×H in/cm} • {Material/Finish} — {Condition}. Pickup/delivery: {options}. More pieces available.
- Add one lifestyle shot if space allows; keep background tidy.
11) Marketplace‑Friendly Tips (Aspect, Crops, Watermarks)
- Portrait‑friendly covers often earn more vertical feed space on mobile.
- Sequence matters: first three images are your pitch; make them strongest.
- Use small, tasteful watermarks only if allowed; never obscure details.
12) Safety, Privacy & Meet‑up Tips
- Remove personal items; avoid house numbers and mirrors showing faces.
- Prefer public meet‑ups or storefronts; if at home, have a second person present.
- Do not share sensitive info in captions or images.
13) KPIs, UTMs & A/B Testing Ideas
View→Message
8–15% target
Save Rate
10–25%
Message→Visit
40–60%
Refund/Return
↓ with honest wear shots
Test hero orientation, prop choice, and order of images. Track results by category with simple tags.
14) 30–60–90 Day Rollout Plan
Days 1–30 (Foundation)
- Set up a bright shooting corner with window + reflector.
- Create a laminated shot list and caption template.
- Photograph 10 SKUs using the 12‑angle checklist.
Days 31–60 (Momentum)
- Standardize file names and photo order; build a style guide.
- Add short clips for moving parts; publish before/after edits.
- Audit color accuracy and re‑shoot weak covers.
Days 61–90 (Scale)
- Train a helper on the shot list; assign QA to one person.
- Batch‑produce photos weekly; maintain a ready‑to‑post library.
- Quarterly prune and refresh top sellers with improved covers.
15) Troubleshooting & Optimization
| Symptom | Likely Cause | Fix |
|---|---|---|
| High views, low messages | Muddy covers / no scale | Re‑shoot hero, add tape‑measure photo |
| Messages, no visits | Unclear condition | Add honest wear shots + captions |
| Color complaints | Mixed lighting | Turn off overheads; daylight + reflector only |
| Glare/reflections | Wrong angle to light | Move yourself or the piece; slight angle; polarizer |
16) 25 Frequently Asked Questions
1) What is “How to Photograph Furniture for Fast Marketplace Sales”?
A repeatable system for creating clear, honest images that convert views into messages and visits.
2) Do I need expensive gear?
No—phones with good light beat DSLRs in bad light.
3) How many images per listing?
8–12 well‑chosen photos plus a short video when possible.
4) What’s the best hero orientation?
Portrait‑friendly cover when it fits; ensure the whole piece is visible.
5) What height should I shoot from?
Eye‑level to the piece (seat or tabletop height) for true proportions.
6) Should I use flash?
Prefer window light + reflector; if you must, bounce flash off a wall/ceiling.
7) How do I avoid wide‑angle distortion?
Use the 1× lens, step back, and correct perspective in editing.
8) How do I show storage capacity?
Open drawers/doors and include a scale item like books or folded towels.
9) What’s the quickest staging prop?
A neutral plant or lamp—kept minimal.
10) Can I shoot outside?
Yes—choose open shade or overcast; avoid mixed sun patches.
11) How do I keep whites from looking blue/yellow?
Lock white balance and avoid mixed light; correct with temperature/tint in edit.
12) Should I include brand marks?
Yes—labels/serials increase trust for authentic pieces.
13) Do lifestyle photos help?
One clean lifestyle shot can boost saves; don’t hide edges.
14) How do I photograph mirrors or glass cabinets?
Shoot off‑axis and darken your clothing; remove background clutter.
15) Can I blur messy backgrounds?
Better to clean the scene. If needed, use a large aperture carefully.
16) What file size should I export?
Use platform‑friendly sizes that load fast; avoid oversized files.
17) Do watermarks reduce reach?
Keep them small and unobtrusive—rules vary by platform.
18) Will filters help my listing?
Skip heavy filters; accurate color outperforms stylized edits.
19) How do I handle tiny rooms?
Shoot diagonally from a corner; step back through a doorway if needed.
20) Should I include dimensions in the photo?
Yes—one tape‑measure photo plus dimensions in text reduce questions.
21) What about pet hair or dust?
Lint‑roll and dust before shooting; spot‑clean remaining specks in edit.
22) How many listings should I batch per session?
5–10 in the same light for consistent color and speed.
23) How do I shoot textiles like velvet?
Use soft side light; brush pile in one direction; avoid harsh top light.
24) Can I reuse backgrounds?
Yes—neutral backgrounds create a branded look across listings.
25) First step today?
Pick one bright corner, print the shot list, and re‑shoot your top three items.
17) 25 Extra Keywords
- How to Photograph Furniture for Fast Marketplace Sales
- furniture marketplace photography
- facebook marketplace furniture photos
- craigslist furniture pictures
- etsy furniture images
- hero angle furniture
- furniture photo staging
- window light product photos
- white balance furniture
- color accurate wood grain
- macro detail furniture
- tape measure scale photo
- portrait cover image
- seamless background furniture
- reflector foam board
- perspective correction edit
- honest wear photo
- marketplace listing checklist
- furniture video walkaround
- caption template furniture
- photo order for listings
- staging props for scale
- furniture photography tips
- mobile product photography
- 2025 furniture photo playbook


